- Home
- Cart
- Browse Products
- Catalogues
- Arco Marine
- Athena
- BEP Marine
- Bob's Machine Shop
- CDI Electronics
- Champion Spark Plugs
- Evinrude Accessories
- GB Remanufacturing
- JB Weld
- Jaltest Diagnostics
- Kicker Audio
- Martyr Anodes
- Mercury Accessories
- NGK Spark Plugs
- Narva Marine
- Shields Fuel Hose
- Solas Propellers
- Suzuki Accessories
- Volvo/Yanmar Parts (CROM)
- Wiseco Pistons
- Technical Resources
- Parts Diagrams
- Product Information
- Promotions
- PROMT News
- Prop Finder
- Video Library
- About Us
- Contact Us
- Find Us on Social
Testing a Johnson and Evinrude VRO Fuel Pump
The following tests outline how to bench test a Johnson and Evinrude VRO Fuel Pump and how to perform an oil consumption test to verify that your fuel pump is delivering the correct quantity of oil to your outboard motor. It's important to verify that the correct oil/fuel ratio is being delivered to your motor to ensure adequate lubrication and to prevent an excessive amount of oil from being delivered to your engine, which can result in excessive smoke, carbon buildup, and spark plug fouling.
This test procedure is designed to assess both the fuel pump and air motor portions of the VRO (Variable Ratio Oiling) pump. Each step is labeled, and instructions are provided on how to proceed based on the results.
Parts of the VRO Fuel Pump:
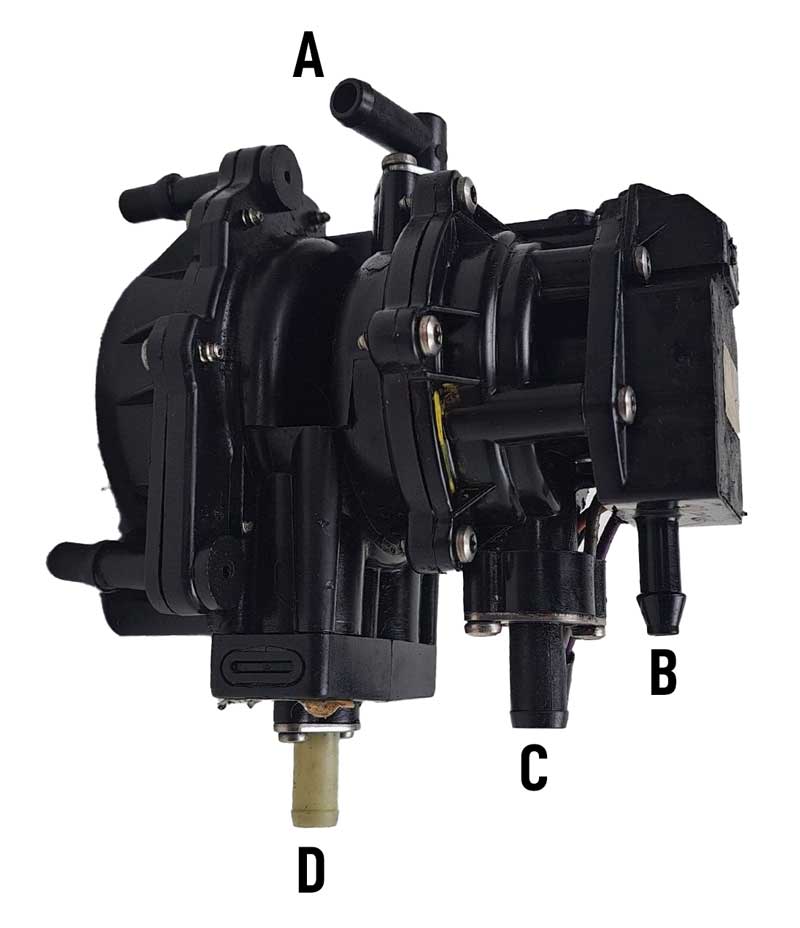
- A: Fuel outlet fitting
- B: Oil inlet fitting
- C: Pressure/Vacuum hose fitting
- D: Fuel inlet fitting
Detailed Test Plan for Testing VRO Fuel Pump
Step 1. Initial Pressure Test
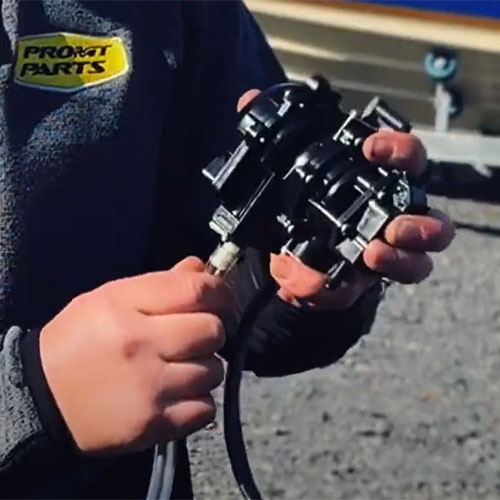
- Connect the gearcase pressure tester to the VRO pulse hose fitting.
- Pressurize to 15 PSI. (The air on the left side of the air motor diaphragm is pressurized to 15 PSI. The air on the right side is trapped by the "Vacuum valve," causing the air motor piston to move slightly to the right until the force of the spring plus the pressure on the right equals the force of the pressure on the left.)
- Check if the pump holds pressure.
- If YES, go to Step 6.
- If NO, go to Step 2.
Step 2. Diagnose Pressure Loss
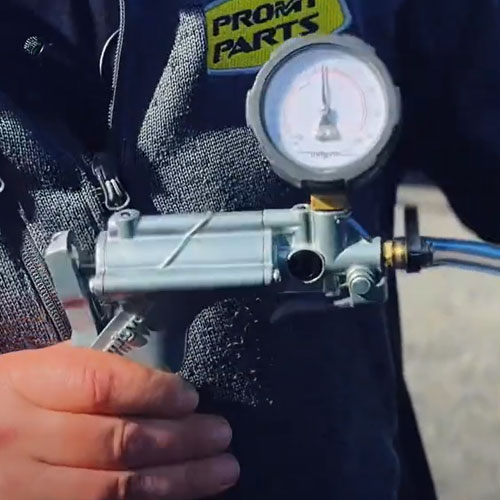
- Slowly pump the gearcase tester to inspect for escaping air.
- Observe if the pump clicks several times with each stroke of the tester.
- If YES, go to Step 3.
- If NO, go to Step 4.
Step 3. Air Motor Cover or Vacuum Port O-Ring Check
- The air motor cover may be cracked or leaking, or the vacuum port O-ring may be leaking.
- Repair the leak, replace the vacuum port O-ring, or replace the air motor cover. End.
Step 4. Check for Air Leaks from Fuel Outlet
- Check if air is leaking from the fuel outlet.
- If YES, Shaft seal is leaking. Replace the fuel pump. End.
- If NO, go to Step 5.
Step 5. External Leak Check
- Locate the external leak.
- Action: Repair the leak or replace the VRO pump. End.
Step 6: Further Pump Evaluation
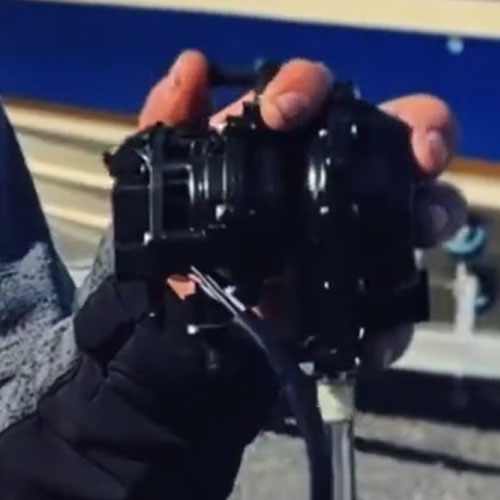
- Hold the pump in its normal running position.
- Cover the fuel outlet and rapidly remove the pressure hose from the pulse fitting.
- The pump should not click.
- Did the pump click?
- If YES, go to Step 7.
- If NO, go to Step 8.
Step 7. Fuel Piston Diaphragm or Flapper Valve Check
- The fuel piston diaphragm or flapper valve may be leaking.
- Action: Install a fuel diaphragm kit. End.
Step 8. Vacuum Test Procedure
- Wait 5 seconds and uncover the fuel outlet.
- The pump should click.
- Did the pump click?
- If YES, go to Step 9.
- If NO, go to Step 10.
Step 9. Vacuum Test Confirmation
- Connect the gearcase vacuum tester to the VRO pulse fitting.
- Pump to 15 in. Hg. (The air on the right side of the air motor diaphragm is evacuated to 15 in. Hg, while the air on the left is trapped by the "Pressure valve." The air motor piston should move slightly to the right until the force of the spring plus the vacuum on the left equals the force of the vacuum on the right.)
- Hold the pump in its normal running position and cover the fuel outlet.
- Rapidly remove the vacuum hose from the pulse fitting.
- Wait 5 seconds and uncover the fuel outlet.
- The pump should click. Did the pump click?
- If YES, the pump is functioning properly. End.
- If NO, the vacuum rectifier valve is leaking. Action: Replace the fuel pump. End.
Step 10. Pressure Rectifier Valve Check
- Connect the gearcase vacuum tester to the VRO pulse fitting.
- Pump to 15 in. Hg. (This follows the same procedure as the vacuum test.)
- Hold the pump in its normal running position and cover the fuel outlet.
- Rapidly remove the vacuum hose from the pulse fitting.
- Wait 5 seconds and uncover the fuel outlet.
- The pump should click. Did the pump click?
- If YES, the pressure rectifier valve is leaking. Action: Replace the fuel pump. End.
- If NO, the air motor diaphragm and/or the vacuum rectifier are leaking. Action: Install a new air motor diaphragm. Note: If the vacuum rectifier is also leaking, replace the fuel pump. End.
VRO Pump Oil Consumption Test
Important Note: Always run your engine on a pre-mixed oil/fuel mixture when conducting oil consumption tests to prevent engine damage due to insufficient lubrication. Even after installing a new VRO fuel pump, continue using pre-mixed fuel until oil consumption is verified.
Preparation
- Prepare the Engine: Install the appropriate test propeller and place the engine in a suitable test tank.
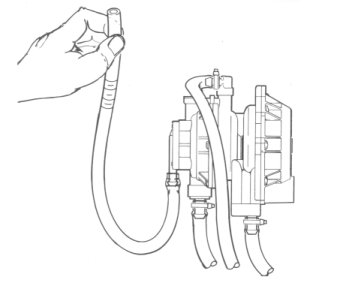
- Disconnect Fuel Hoses: Carefully remove the fuel hoses from the fittings. Avoid pulling them; pushing is usually sufficient. If necessary, cut along the side of the hose to separate it.
Install Test Hose
- Attach Hose: Connect a 10-inch length of 1/4-inch clear vinyl hose to the oil inlet fitting on the VRO pump.
- Mark Hose: Mark the hose at 1/2-inch intervals for 4 inches.
Fill and Run Engine
- Fill with Oil: Fill the hose with Evinrude or Johnson Outboard Lubricant to remove air bubbles.
- Start Engine: Run the engine to circulate the oil and remove air bubbles from the oil system.
- Re-fill with Oil: Turn off the engine and refill the hose with oil to the top mark.
Monitor Pump Cycles
- Run at 1500 RPM: Let the engine run at 1500 RPM.
- Observe Oil Level: Watch the oil level in the hose. Count the pulses it takes for the level to drop 3 inches. You can also listen for the oil pump's clicking sound or feel the pulses by applying light finger pressure to the outlet hose.
Evaluate Results
- Check Pulses: The pump should pulse 6 to 8 times for a 3-inch drop in oil level.
- Troubleshooting: If the results are different, inspect the pulse limiter before repairing the pump.
Reassembly
- Reconnect Hose: Reinstall the oil supply hose and secure it with a spring clamp.
- Tighten Screws: Tighten the pump-to-bracket screws to the specified torque (18-24 in-lbs).
Remember: Ensure all connections are airtight to prevent serious engine damage.
Johnson & Evinrude VRO Fuel & Oil Pumps for Sale
|
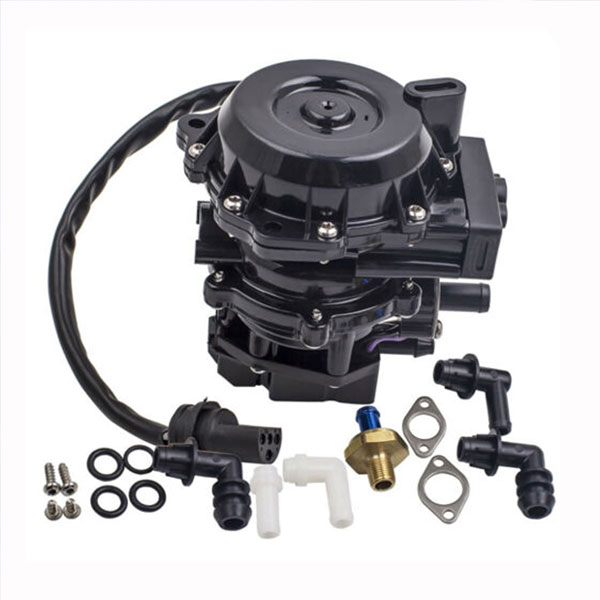
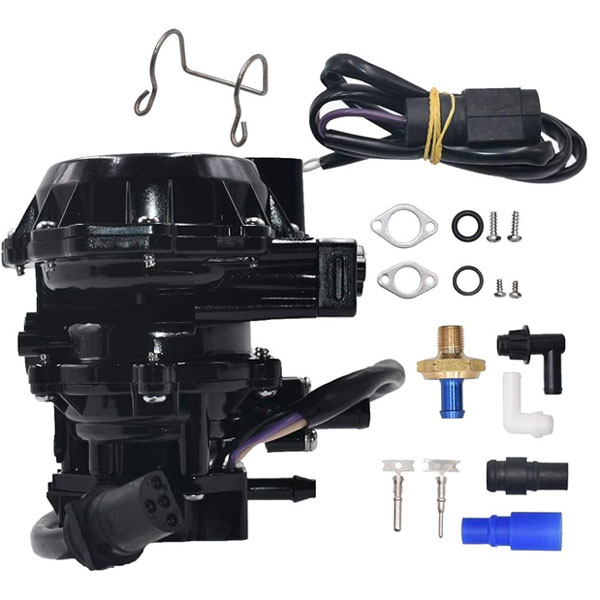
Johnson and Evinrude VRO Fuel Pump - 5007420 Restore your outboard motor's performance with the Johnson and Evinrude 5007420 VRO Fuel Oil Pump Kit. This genuine OEM replacement part is designed to deliver reliable fuel and oil delivery to your engine. Used on all motors except 2 cylinder 40-50 HP. |
|
Johnson and Evinrude VRO Fuel Pump - 5007421 Restore your outboard motor's performance with the Johnson and Evinrude 5007421 VRO Fuel Oil Pump Kit. This genuine OEM replacement part is designed to deliver reliable fuel and oil delivery to your engine. Used on 2 cylinder 40-50 HP and 3 cylinder 60TTL. |
|
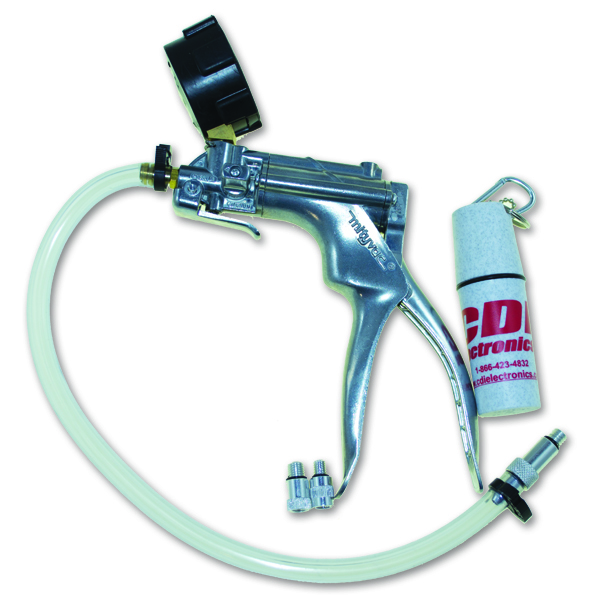
CDI Pressure and Vacuum Tester Diagnose and troubleshoot your outboard motor's gearboxes and VRO pumps with the 551-34PV Pressure and Vacuum Tester. This essential tool is designed to accurately measure pressure and vacuum levels, helping you identify and address potential issues. |

